Proper application of thermal paste is crucial for optimal heat dissipation. First, ensure the surface is clean before application. Using a lint-free cloth dampened with alcohol or a specialized electronics cleaner, gently wipe the contact surfaces between the heat-generating component (such as the CPU) and the heat sink, thoroughly removing any dust, oil, and other impurities, as these residues can significantly hinder heat transfer.
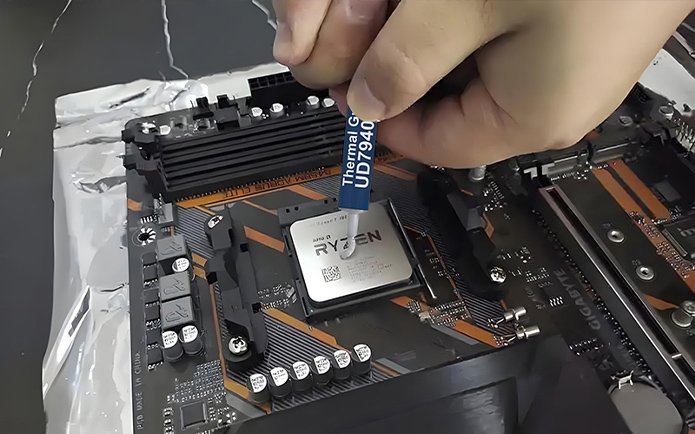
A common application method is the dot-coat method. Squeeze a bead of thermal paste, about the size of a grain of rice, onto the center of the cleaned CPU core. This method relies on pressure during heat sink installation to evenly distribute the paste, filling the tiny gaps between the component and the heat sink.
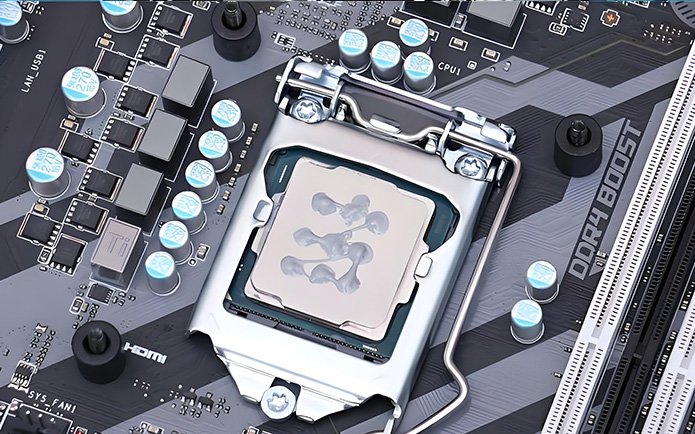
Another common application method is the line-coat method. Based on the shape of the electronic component, one or more uniform lines of thermal paste are applied to the surface. For example, on a square chip, an “X” or “S”-shaped line can be applied. The line-shaped thermal paste effectively spreads and fills gaps when the heat sink is installed.
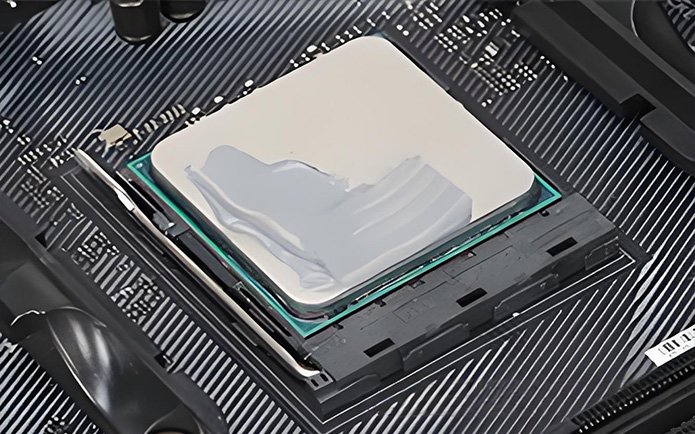
If applying to a large area, first squeeze an appropriate amount of thermal paste onto one surface. Then, use a plastic card or a special scraper to gently apply it evenly at a 45-degree angle, aiming for a thickness of 0.1 to 0.3 mm. However, be careful to avoid introducing air bubbles during the application process, as this will reduce thermal conductivity.
After application, properly install the heat sink as soon as possible to ensure optimal heat dissipation in a sealed environment, ensuring stable operation and extending the life of the electronic device.


